
I love biryani; any kind and from anywhere though I’ve been told that Hyderabadi biryani is the best. It is believed that biryani originated from Persia and made its way to India.
When I was in the UAE, there were couple of biryani joints we used to frequent. One was in Sharjah called Morning Star and the other in Dubai called Saif Restaurant. Both these joints are not your high-end restaurants, but small ones catering mainly to take away. You will be amazed at the number of parcels packed and ready to be delivered and on Fridays, almost every household would be having biryani, be it the local Emiratis or the expats. Of course, the Emiratis have a slightly different version as they don’t take too much of spice.
When you say biryani, it has to be mutton or chicken for some and I tend to ask for fish biryani when I’m ordering from a restaurant. And if they give me a piece of fried fish with biryani rice it’s a big no! For me, the meat must be cooked separately and layered in between the rice and prepared using the ‘dum’ method. This is the best kind of biryani.
Though I love biryani, I don’t make it often and will wait to be in the mood to cook it, as it’s a LOT of work! Seriously, it may look as 1 dish, but the amount of work that goes into it to make it perfect and for your friends to relish it is priceless.
P.S: The raita that usually goes with the biryani is courtesy of my Executive Chef.
Ingredients
- Chicken – 1 full
- Onion – (1 large for paste and 1 medium sliced for sauteing)
- Ginger – 3 cm (paste)
- Green chilli – 3 (paste)
- Yogurt – 3 tbsp
- Tomato – 2, diced
- Turmeric powder – 1/2 tsp
- Chilli powder – 2 tbsp
- Cumin powder – 1/2 tsp
- Coriander powder – 1 tsp
- Salt
- Amchur * (mango powder) – 1 tbsp
- Oil
(*) easily available from most Indian grocery shops.
Rice
- Basmati rice – 5 cups
- Water
- Kesari colouring – 1/4 teaspoon and mix with little water
- Cardamom sticks – 2
- Bay leaves – 2
Garnishing
- Onion – 1 large sliced (for deep frying)
- Mint leaves
- Coriander leaves
- Cashew nuts for garnishing
- Ghee to fry the sliced onions and cashew nuts
Method
- Soak the basmati rice in water for half an hour. Wash and keep it aside to dry thoroughly.
- Marinate the meat with onion, green chilli, ginger garlic paste, all the masala powders, amchur and yogurt. Marinate for as long as possible.
- In a wok, add a little ghee and fry the sliced onions till dark brown followed by the cashew nuts. Keep them aside for garnishing together with the coriander and mint leaves.
- In the same wok, add oil and saute the sliced onions till slightly brown.
- Add the meat and a cup of water and cover to let it cook.
- When it’s 3/4 cooked, add the tomatoes and continue cooking. Ensure that there is enough gravy for the layering.
- In a separate wok, add a little ghee and fry the cardamom sticks and bay leaves. Add rice and saute for a minute. Add a little bit of salt and water and let the rice cook 3/4 way and drain off the water.
- Prepare the vessel where the layering is to be done by rubbing a little ghee on the bottom of the vessel so that it does not stick.
- Layer the bottom of the vessel with rice and sprinkle liberally with a little kesari powder mixed with water. Add the meat with gravy followed by a little coriander and mint leaves and some cashew nuts.
- Add rice on top of the meat and repeat the above process finishing off with the rice and remainder garnishing.
- Cover the vessel and keep it on the stove over very slow flame for about 10 – 15 mins.
- Serve with any kind of raita.
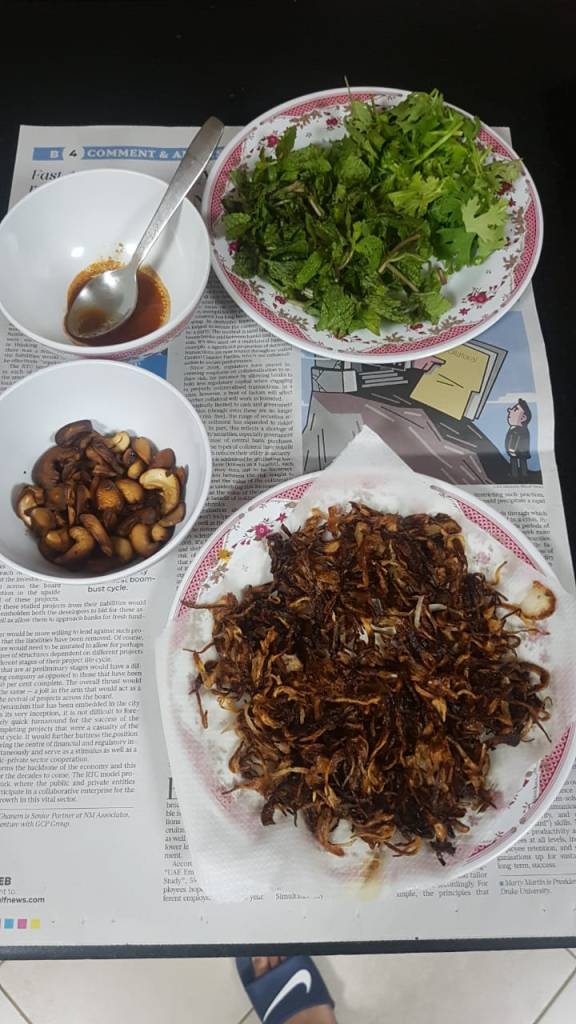
Garnishings for the biryani
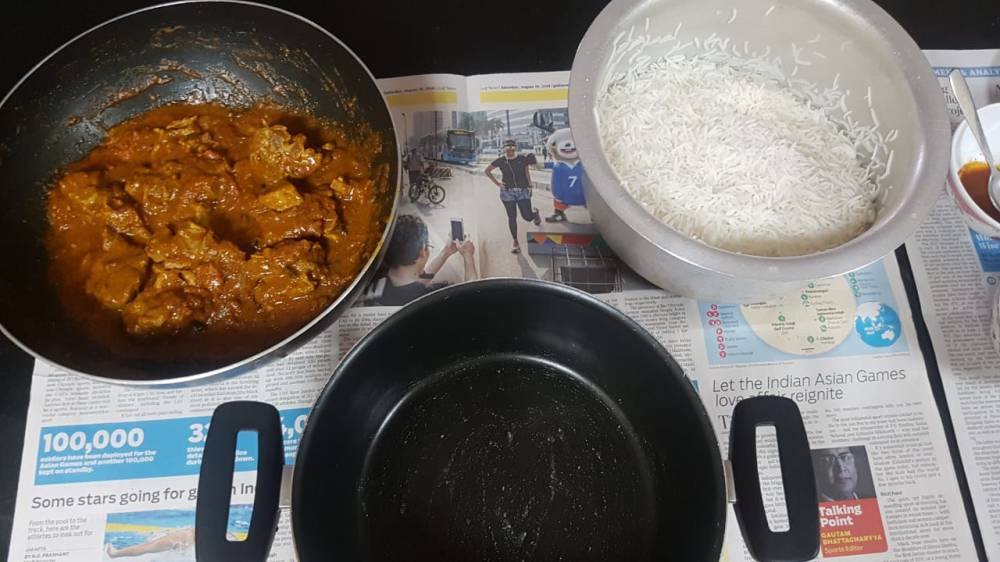
Rice and chicken for layering

First layer
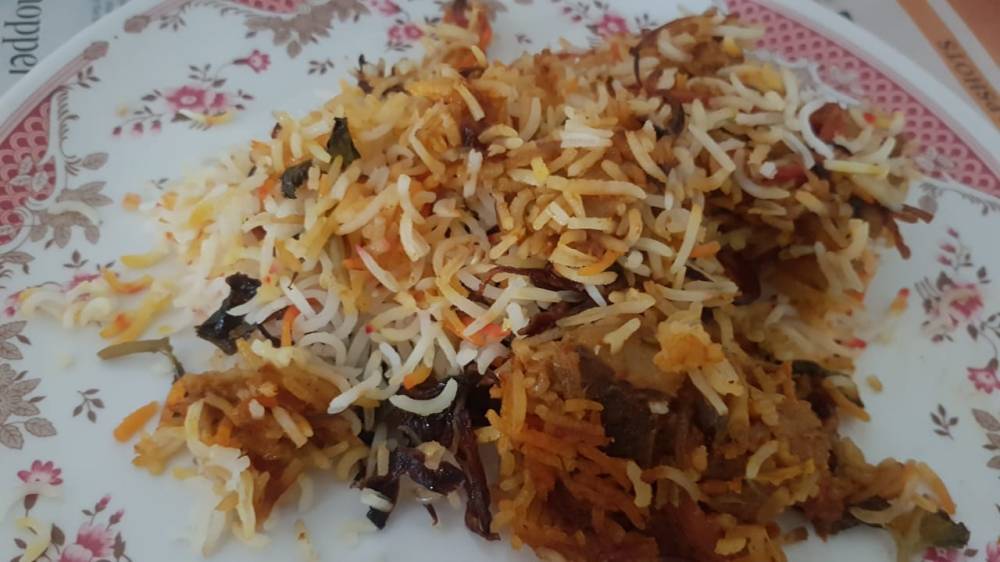
Enjoy!
